The following section describes how to deploy VM templates in vCenter and enable network connectivity. First, to deploy an application on vCenter, we’ll need to upload templates and images to vCenter. In our example, we’ll use the content library mechanism:
- Log in to vCenter, navigate to the left-hand menu, and click on CREATE, as seen in the following screenshot:

Figure 4.48 – Content Libraries
2. Create a content library and specify the name:
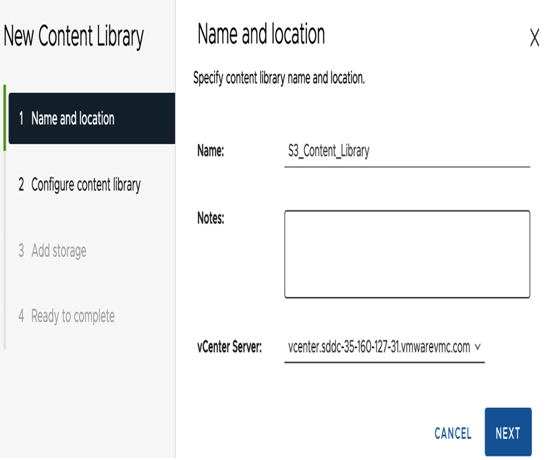
Figure 4.49 – Create a content library
3. In our example, we’ll choose Subscribed content library instead of hosting a local content library to sync an existing content library uploaded to S3. Using a master content library helps to manage the subscribed content library with corporate templates and quickly enables the distribution of required sources to start the deployment:
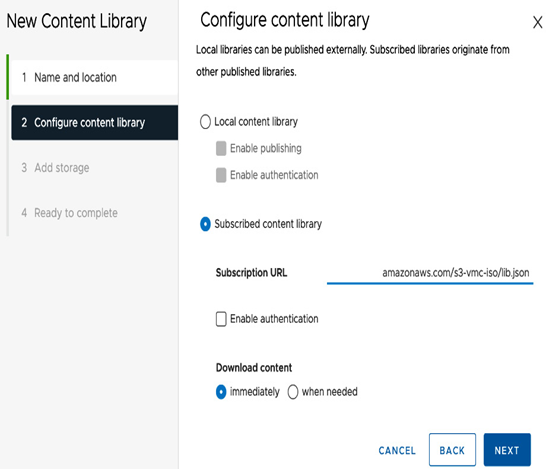
Figure 4.50 – Sync content library from S3
By default, the content library sync deployment will fail because of the connected VPC S3 endpoint redirect feature in VMware Cloud on AWS, as seen in the following screenshot:
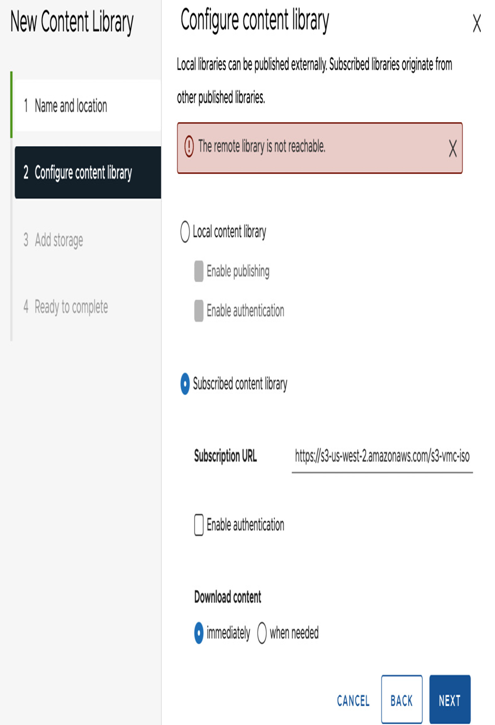
Figure 4.51 – Sync content library from S3 error
The preceding error will appear unless we turn the S3 redirect off or the connected VPC has an S3 endpoint terminated.
4. To disable the S3 redirect, navigate to the NSX Manager UI, select Networking, choose Connected VPC under Cloud Services, and confirm the S3 radio button is disabled.
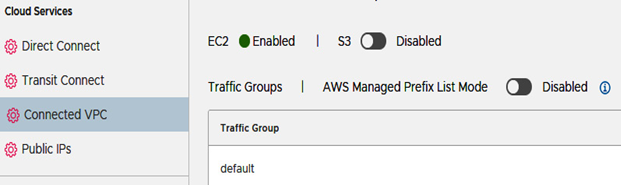
Figure 4.52 – Connected VPC
5. Afterward, continue with the S3 content library sync and click on Next.
6. To configure storage, select WorkloadDatastore to place the content library in the vSAN datastore. You can also add an NFS datastore and use it to store the content library:
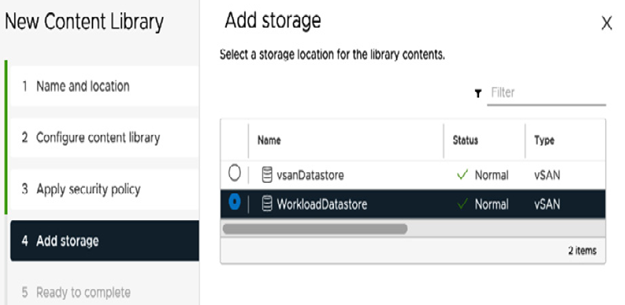
Figure 4.53 – Select the storage target datastore
7. Review the summary of the content library configuration, and click on FINISH to proceed, as seen in the following screenshot:
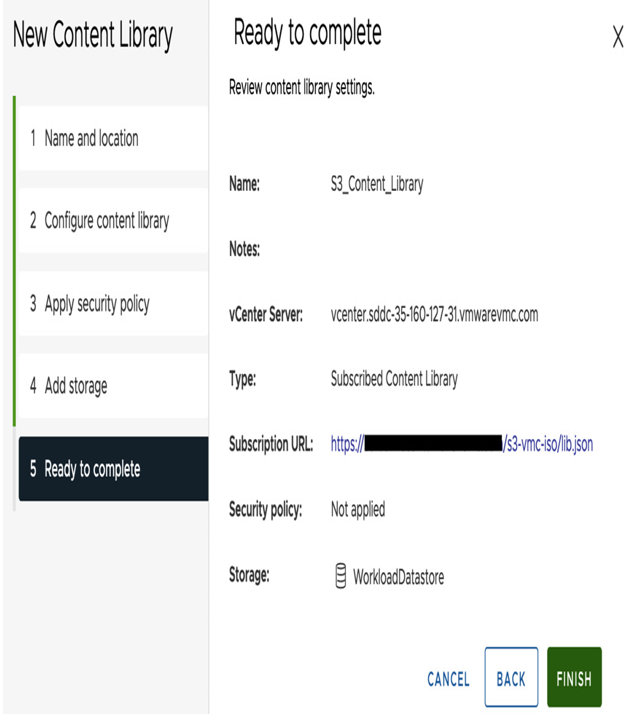
Figure 4.54 – Complete synchronizations
8. Once we have the content library synced to vCenter (this can take time, depending on the size and the number of templates), we can now deploy our first application, using an existing template, with MySQL, which resides in the content library:
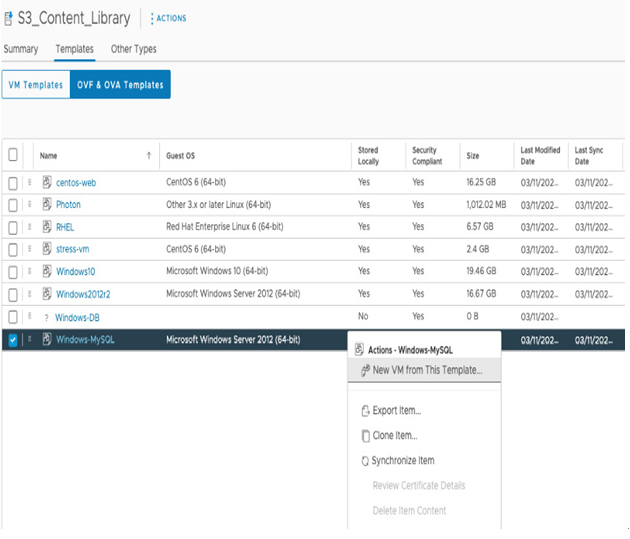
Figure 4.55 – Deploy Windows Server from the content library
9. Right-click the template and start the deployment of a Windows DB server. Select the virtual machine name, specify the folder in vCenter, and click NEXT, as seen in the following screenshot:
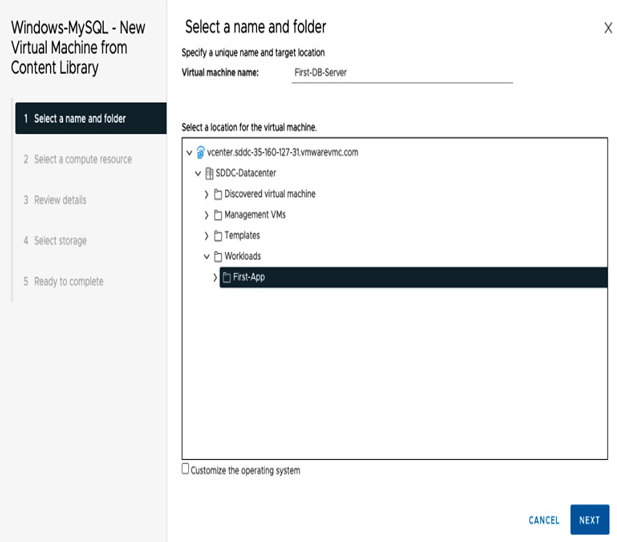
Figure 4.56 – Template deployment folder selection
Note
The CloudAdmin role doesn’t have the permissions to create a VM in the Discovered virtual machine or Management VMs folders.
10. In the Select a compute resource section, select Compute-ResourcePool, as seen in the following screenshot:
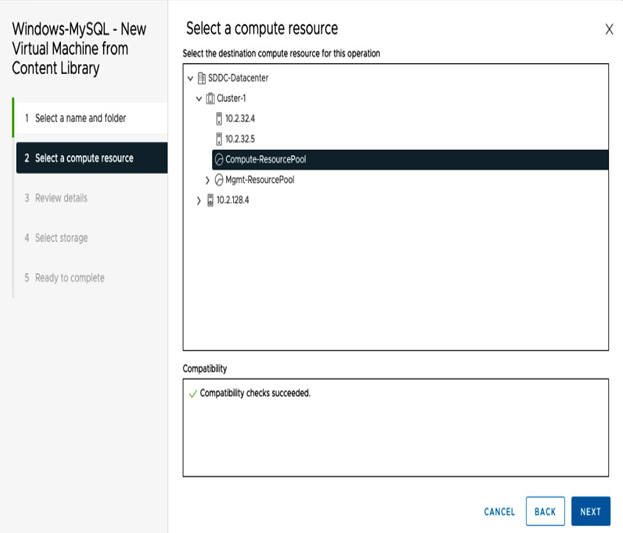
Figure 4.57 – VM deployment resource pool
Note
The CloudAdmin role doesn’t have the permissions to create a VM in the Mgmt-ResourcePool resource.
11. In the Select storage section, select WorkloadDatastore, and the default VM storage policy will apply. We will discuss storage policies in the next chapter. Click on NEXT:
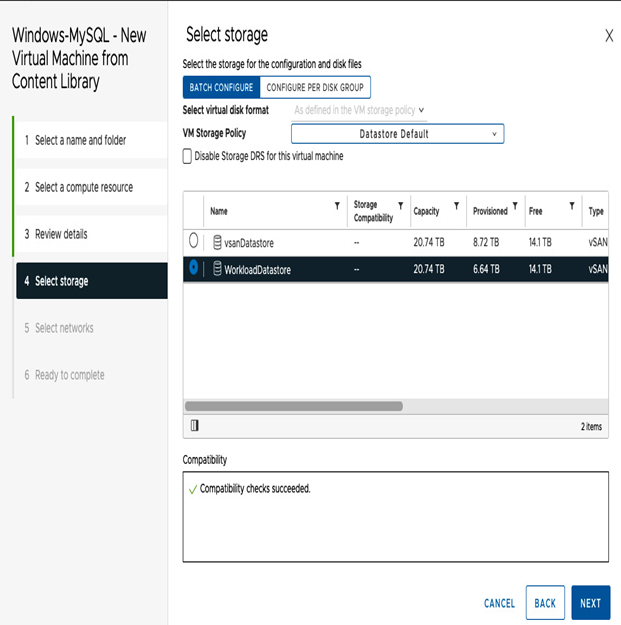
Figure 4.58 – Select storage datastore
Note
The CloudAdmin role doesn’t have the permissions to create a VM on vsanDatastore.
12. In the Select networks section, we’ll select a pre-provisioned network segment – DB-Segment:
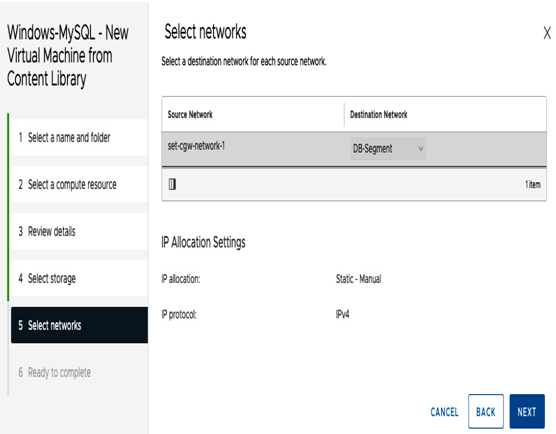
Figure 4.59 – Select networks
13. Let’s review the Segments section from the VMware Cloud SDDC console’s Networking and Security tab. The segment is already preconfigured in our example, as seen in the following screenshot:
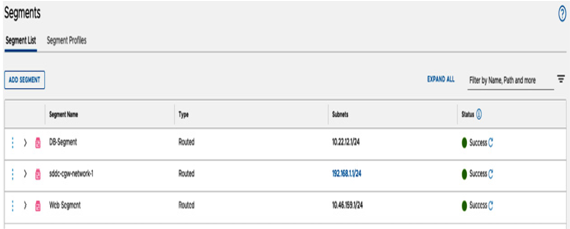
Figure 4.60 – Segment List
14. Review the summary of the VM deployment and click on the FINISH button to deploy the VM, as seen in the following screenshot:
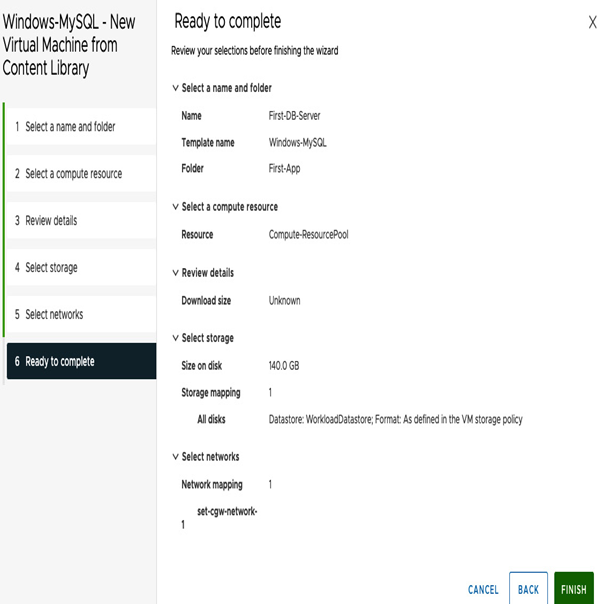
Figure 4.61 – Confirm deployment details
Follow the same deployment process to deploy a web-app server VM and power on both VMs, as seen in the following screenshot:
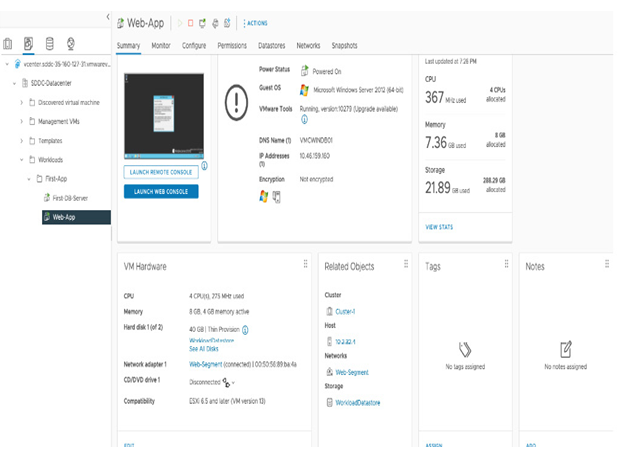
Figure 4.62 – vCenter applications view